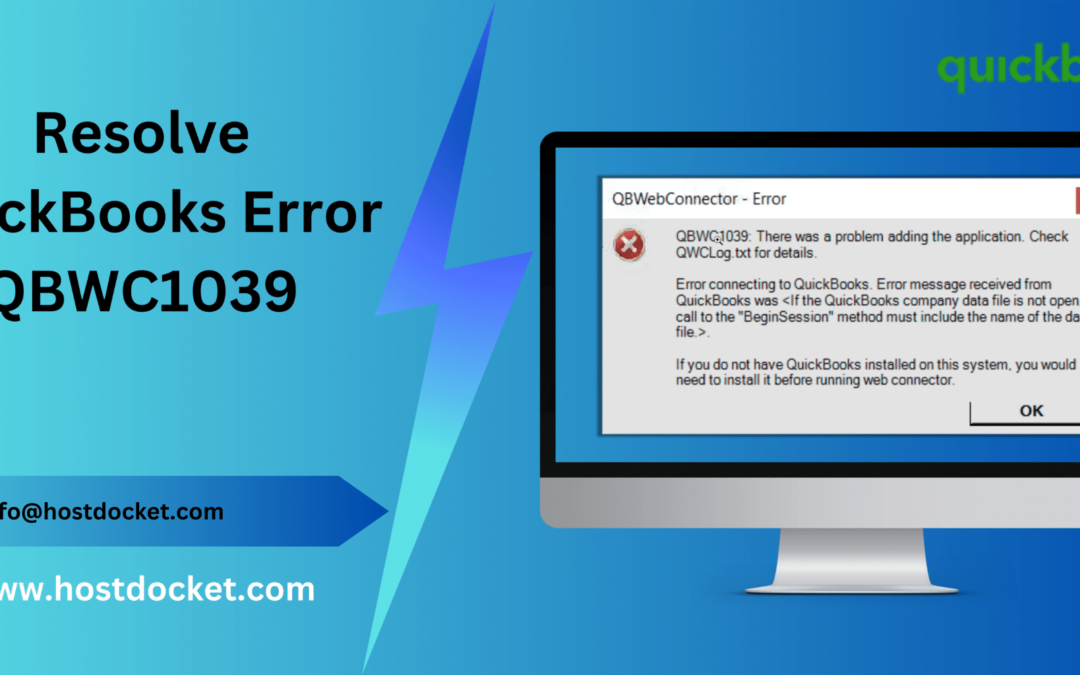
Experiencing issues in QuickBooks is common. However, not finding and implementing the right solutions to deal with those issues might be a bit troublesome. One such error that we are going to discuss about today is the QuickBooks error code QBWC1039. Well, often when working on QuickBooks, and trying to connect an app using the QuickBooks web connector, one might end up in such an error. This error can be a bit confusing for some users.
There can be a handful of reasons behind the occurrence of such an error. If you are interested in finding out what measures can be performed to eliminate this issue, all you need is to scroll through this segment carefully. You can also drop us a mail at [email protected] and ask our QuickBooks tech support professionals to help you with the fixation process.
Brief into QuickBooks web connector error
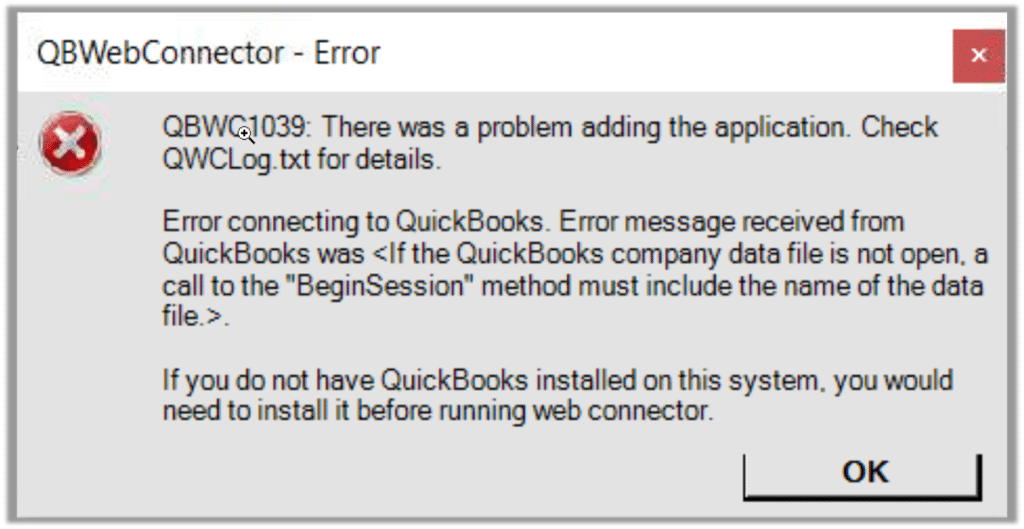
The QBWC1039 is basically a web connector error that occurs stating:
- “QBWC1039: If the QuickBooks company data file is not open…”
- “QBWC1039: This application does not have permission to access the QuickBooks company data file…”
- “QBWC1039: Unique OwnerID/FileID pair value required”
- “QBWC1039: Unable to add FileID to company file for this Application”
- “QBWC1039: There was a problem adding the application. Check QBWCLog.txt for details”
This particular glitch is often experienced when QuickBooks users try to add the same configuration file added twice within the application. There can be a bunch of reasons causing this issue and a handful of steps to fix the same. To know more, continue reading the segment.
You may also need: How to Fix QuickBooks Web Connector Error QBWC1085?
What factors trigger QuickBooks error QBWC1039?
There can be a bunch of reasons why one might come across QuickBooks error QBWC1039. To understand what those factors are, check out the below stated pointers carefully.
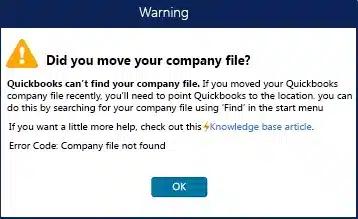
- One of the basic reasons can be if the QuickBooks company file is moved or relocated from the original location.
- Another common trigger can be when the user has already made several attempts to integrate the application.
- Also, in case the name of the company file is changed.
- Compatibility issues between the company file with the application can also trigger such an error.
- If the QuickBooks admin restricts the integration of the third-party application, then such an error can create a nuisance.
Also See: How to Setup Microsoft Outlook Email Integration with QuickBooks?
Methods to repair QuickBooks error code QBWC1039
The user can try eliminating this error in QuickBooks using the few set of steps listed below. Let us have a look:
Method 1: Download and install QuickBooks to the latest release
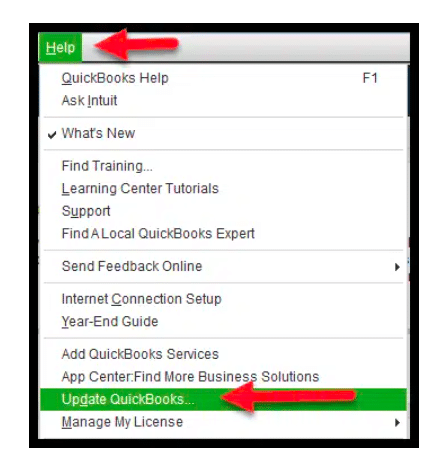
- The very first step here is to download, install and update QuickBooks.
- After that save it to the default downloads folder.
- The next step is to move to the downloaded file.
- And right click the file and select run as admin and perform the steps associated to the installation wizard.
- Once done with that, the user needs to click on the finish tab and reboot the system.
- After that start using the software after it is updated to the latest release.
- Start using the QuickBooks latest release software.
You might need: Steps to Install QuickBooks Desktop Software [Complete Guide]
Method 2: Make a backup of the company file
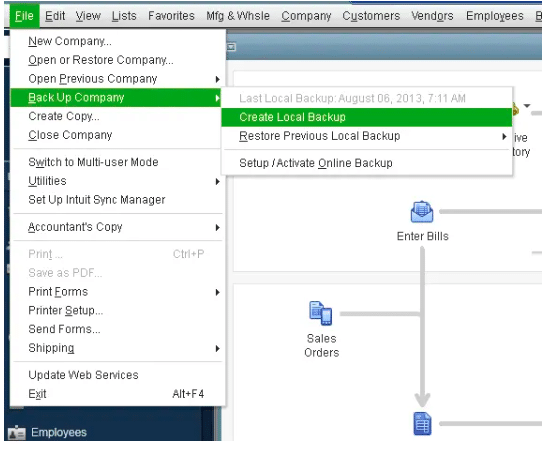
Often creating the backup of the company file can help in fixing the issue. Backup QuickBooks by following steps as mentioned below:
- The user needs to first open the QuickBooks software and then the file. Switch to the single user mode.
- And then, click on the file menu and then backup the company option.
- Choose to create the local backup option.
- After that select the local backup.
- Click on the options tab for opening the backup window and then select browse.
- The next step is to choose the local hard drive location of the company backup file copy.
- And furthermore, click on ok and save it option after the backup is complete.
Read Also: How to Restore Backup Files in QuickBooks Desktop?
Method 3: Change the name and save QuickBooks company file
- Under this process, the user is required to open the software and then press the function F2 key or Ctrl + 1 keys for opening information related to the company file.
- Note down the location from the file information field.
- After that click on the start tab of Windows.
- The user is then required to click on file explorer only for Windows 8, 8.1, 10, or for Windows 7 and vista users open Windows explorer.
- Right-click on the file and select the rename option.
- The file name should be changed.
- Hit the enter key.
- Click on the Yes tab.
- Set up QuickBooks desktop to use a new file name, and then click on file menu.
- Lastly, open the company file and then click on next and also open the renamed file.
See Also: How to Fix QuickBooks Company File Incorrect Password Error?
Method 4: Restore the backup file to the previous location
- This process requires the user to first click on the file menu and then launch the software.
- Now, click on open or restore the company and choose to restore a QuickBooks backup copy.
- After that, click on the next option and then select the local backup tab.
- The user will then have to click on next and the browser backup company file.
- Go for a folder to save the restored file.
- Save the file by a unique name and try not to overwrite the new company name.
- Open and save the restored company file to end the process.
You might need: How to Create And Restore A QuickBooks Portable Company File?
Method 5: Unique ownerID/FileID pair value required
- Start this process by opening the QuickBooks desktop.
- After that download the CP3 tool.
- The next step is to open the CP3 tool and then click on the file option.
- Search for the QWC file and then enter the QBC file location.
- After that, open the file and click on remove stamp.
- This will open up a pop message QuickBooks application certificate, click on Yes.
- The user is now required to select to continue and select ok in the access confirmation window.
- Perform the instructions and hit the Ok tab.
- After the confirmation message appears.
- Click on the OK tab.
- Close the CP3 tool and add a third-party app.
Method 6: Configure web connector to run when QuickBooks is closed
- The user is first required to sign in to QuickBooks as the admin user.
- In case the QuickBooks is on multi-user mode, then it is suggested to head to the file menu and then select the switch to single-user mode.
- Now, from the edit menu, select preferences.
- Choose the integrated application.
- Go for the company preferences tab.
- The user is then required to select the third-party app and choose properties.
- Permit this application to log in automatically.
- Now, in the authorization window choose yes.
- Go for the user to log in, and then hit the OK button.
Method 7: Fix permission issues in accessing QuickBooks company file
In case none of the above steps helped in eliminating the issue, then make sure to perform the steps below to fix permission issues in accessing QuickBooks company file.
- Start the process by signing in the QuickBooks as an admin.
- Now, visit the file menu and switch to single-user mode, if QuickBooks is on multi-user mode.
- From the edit menu, choose preferences.
- Go for the integrated application.
- Select the company preferences tab.
- Uncheck the box for don’t allow any application to access this company file.
- In the SDK app authorization, the user needs to choose Yes.
- Check the third-party application to allow access.
- Click OK button and end the process.
You might like: How to Fix QuickBooks File Doctor – Fix your Damaged Company File or Network?
To Conclude!
This segment is believed to be of great assistance in eliminating the issue in QuickBooks. However, if you aren’t able to deal with the issue even after performing the steps discussed above, then in that case, connecting with our tech support professionals at our toll-free +1-888-510-9198 is recommended. We are a team of certified QuickBooks professionals who have years of experience and expertise in dealing with this issue from its root cause. For more details, get in touch with us today!
Some Common Questions Regarding QuickBooks Error QBWC1039:
Connector is unable to connect with a third-party application due to incorrect or outdated security certificates, missing files, or a malfunctioning Web Connector. This error may also arise if the company file being accessed by the Web Connector is damaged or corrupted.
To fix QuickBooks Error QBWC 1039, you can try several solutions, such as updating QuickBooks to the latest version, resetting the Web Connector, deleting the QBWebConnector.log file, and restarting the system. You may also need to delete and recreate the third-party application’s security certificate and check that the company file is not damaged.
QuickBooks Error QBWC1039 does not directly cause data loss or other significant issues. However, if you cannot connect with the third-party application, you may not be able to perform essential accounting functions, such as downloading transactions, updating payroll, or managing inventory.
To prevent QuickBooks Error QBWC1039 from recurring, you should regularly update QuickBooks and the third-party application, check for and repair any damaged files or corrupted company files, and ensure that your computer’s antivirus and firewall settings do not block the Web Connector or the third-party application’s connection. Additionally, you should only use trusted third-party applications with QuickBooks and ensure that they are compatible with your QuickBooks version.
