When working on QuickBooks, there can be a scenario when you might require your accountant to review your books, make corrections, and collaborate on any issues. When it comes to accountant users, they have additional privileges that let them undo the entire reconciliations, reclassify transactions, and further write off invoices. Accountant users can also use accountant-specific tools in order to help in preparing for taxes. Not just that, QuickBooks users can give their accountant access to QuickBooks self-employed company files and accounting info. Giving them access lets them review the books and perform necessary corrections. When you add accountant to QuickBooks online, it becomes easier for the user to collaborate with the accountant, especially when it comes to tax season.
Quick Note: Regular accountant users do not count toward the usage limit. They will consider when you make them your company’s primary admin. In case you want to manage regular users, then you can simply add and manage users in QuickBooks Online. To help you out in adding accountants to QuickBooks online, here we are with this segment sharing the complete set of steps and procedures that can be performed to add users successfully. However, if you have any queries, then dial +1-888-510-9198, and our experts will be there to provide immediate technical guidance.
Also Read: Convert an Accountant’s Copy to a Regular Company File – QuickBooks
Steps to Invite Accountant to QuickBooks Online
In order to invite your Accountant to QuickBooks online, you need to carry out the steps below:
- Begin with signing in to Quickbooks online as a primary admin.
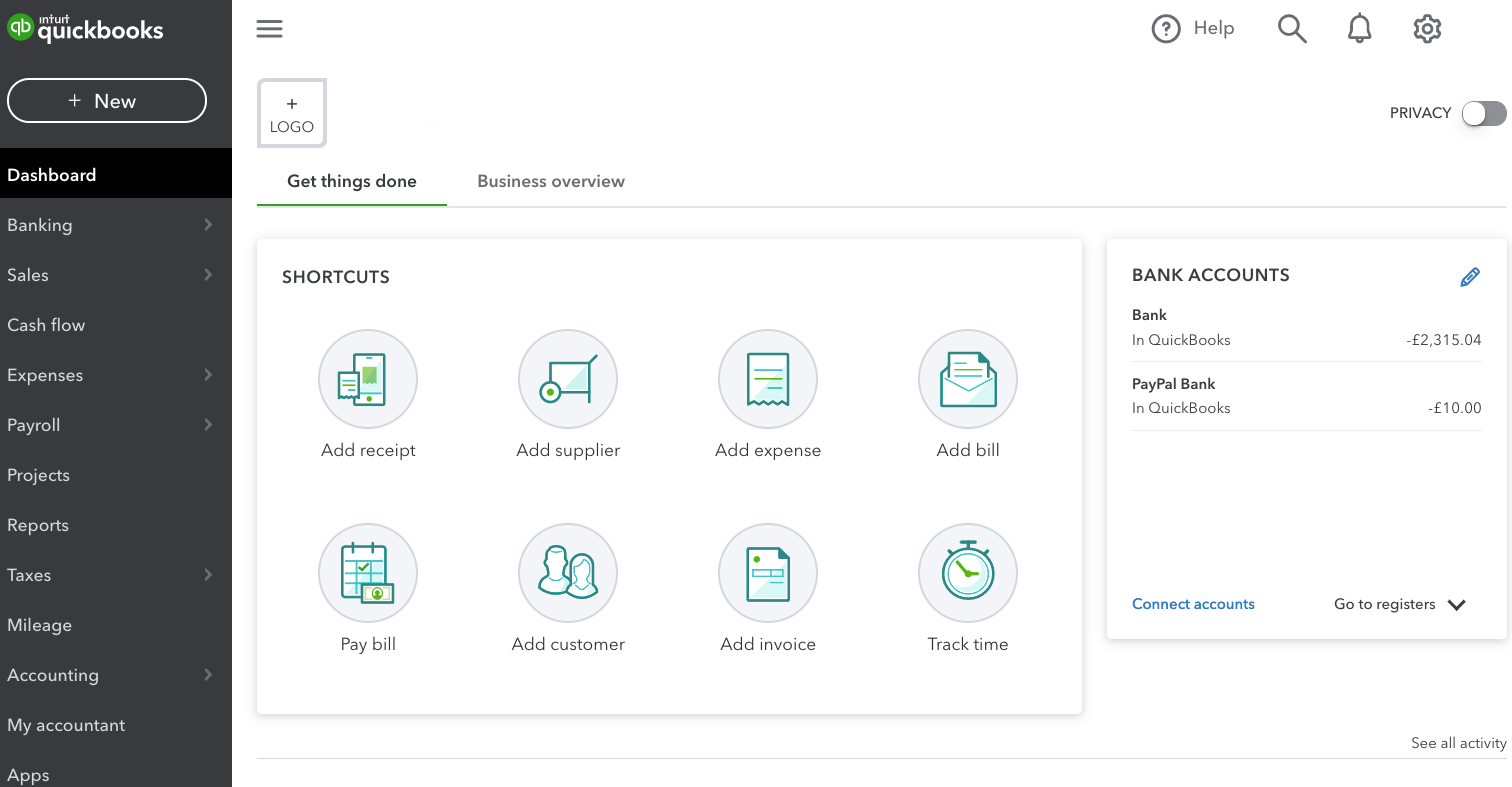
- Once done with that, go for the settings tab ⚙ and further choose manage users

- The next step is to choose accountants or accounting firms tab
- Now, enter your accountant’s email address and then choose Invite.
What happens when you invite your accountant?

- When you invite your accountant, he/she will receive an email regarding the invitation. When the status on the manage users page changes from Invited to Active, it indicates that the accountant has accepted your invitation.
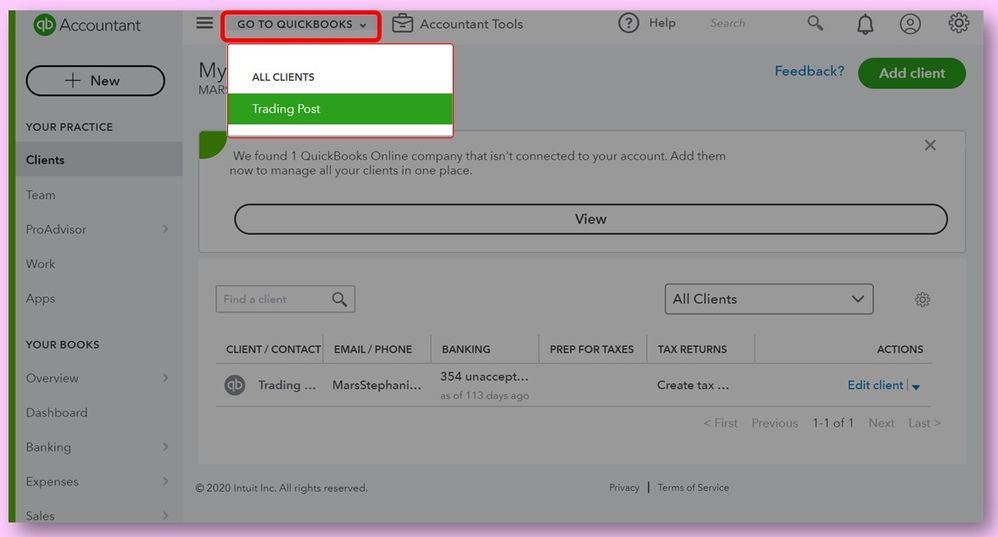
- Note that, the accountant will get a link to access QuickBooks online company in case they are already using QuickBooks Online Accountant. In case they do not, then simply they would have to sign up. It should be noted that the process to sign up is free and lets the accountant users to access all of the features that are available in your QuickBooks online version that too at no cost to you.
You might find this helpful: QuickBooks Unable to Display Accountant’s Changes: How to Display It?
Steps to Remove An Accountant from QuickBooks Online
The Accountants do not have the authority to remove other accountants or themselves from Manage users page. Just in case you no longer wish an accountant to access your books, then you can remove them using the below steps:
- To begin with, simply sign in QuickBooks online as primary admin
- Once done with that, navigate to the settings tab ⚙
- And choose manage users
- You now have to opt for the accountants or accounting firms tab
- Now, find the accountant you wish to remove
- Furthermore, from the action column, go for the delete tab.
- The last step is to choose delete and you are done with the process.
Steps to Invite an Accountant in QuickBooks Self-Employed
You can let your accountant review your books in QuickBooks self-employed using the steps below:
- Begin with signing in to QuickBooks Self Employed
- After that, choose settings ⚙ and go for Accountant.
- You now have to enter your accountant’s email address in the accountant email field.
- Followed by selecting Send Invitation.
- The next step is to choose text a code to verify your identity.
- This will send a verification code to your registered mobile number.
- You will then have to enter the verification code and click on the Continue tab.
It should be noted that:
- Doing this will email an invite to the accountant.
- Also, you will get an email notification after the accountant accepts the invite.
- Once they accept it, they can access the accounts using QuickBooks Online Accountant.
- You might need to resend invitation if they do not receive the invite.
Also Read: Resolving QuickBooks Accountant Copy Failed Error
Steps to Remove an Accountant in QuickBooks Online
Now that you have done the necessary task and you do not want your accountant to have access anymore, you can simply carry out the steps to remove them. The steps involved in here are:
- At first, choose the settings tab ⚙ and go for accountant.
- Once done with that, look for the accountant you wish to remove.
- Now, click on remove accountant next to their name.
- The accountant will now have no more access to the company file.
Steps to Send Copies of Reports to Accountant
- You can simply head to the reports menu.
- There, find the report that you like to send to your accountant.
- After that, choose the time period or tax from the dropdown menu.
- And then, click on view or download.
- The last step is to select print or download from the dropdown.
You might now be able to send the report to your accountant via email or mail.
Here is: How to Sign up for QuickBooks Online Accountant & troubleshoot any probable error?
Conclusion!
Now that you know how to add an accountant to QuickBooks Online and self-employed, it is time to implement these steps. However, if you are not sure about implementing the steps or if you need any sort of technical guidance in adding accountant to QuickBooks online or self employed, then in that scenario, do not hesitate in contacting our QuickBooks technical support team at +1-888-510-9198, and our certified QuickBooks ProAdvisors will help you in successfully adding the accountant user without stumbling upon any sort of error.
Other Related Articles:
Also Read: Adding a User License to your QuickBooks Software


